KirstenHarr.com
  • HOME
  • PHOTOGRAPHY
    • BOOK YOUR SESSION
    • PHOTOGRAPHY BLOG
    • REVIEWS
  • ABOUT ME
    • GIVING BACK
  • SHOP
    • BOOK SHOP
    • DIGITAL BACKDROPS
    • PHOTOGRAPH STORE
    • MOBILE MASTERPIECES >
      • DANDELION WISHES MASTERPIECE
      • FLIGHT ON THE BUMBLEBEE MASTERPIECE

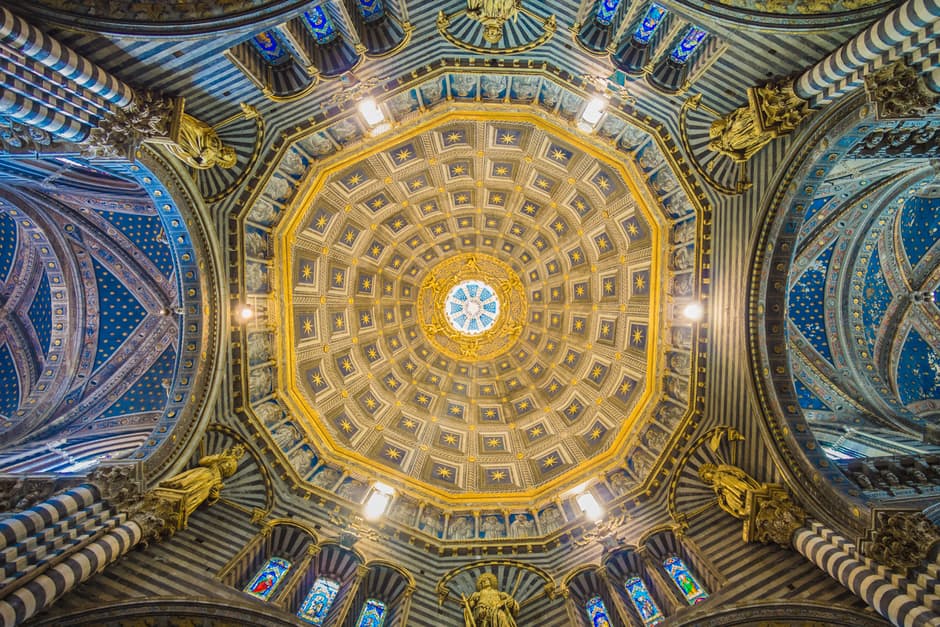
Behold and Capture the Grand Ceiling Above You 

1/25/2017

0 Comments

 
Picture
Picture

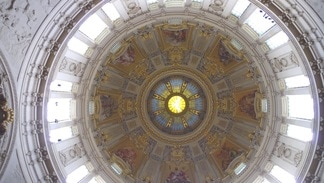
Have you ever walked into an old cathedral or chapel, looked up, and found yourself amazed by the patterns, architecture, lines, colors, light, and frames all perfectly composed for your camera to capture? A grand ceiling is beautiful to behold and photograph.  But unless you’re prepared to photograph a grand ceiling, what you see before your eyes may not translate through your lens. 
 
Let’s take some time to talk about lighting.  Because many older structures are poorly lit, seeing the details in the ceilings may be difficult even for the naked eye.  To make sure your camera can pick up the details in dim lighting, you’ll want to use a wide aperture and long exposure time to capture as much light as you can.  Also, be mindful of lanterns, windows, and other lighting sources as they can also create sharp contrasts.  With different factors at play, be prepared to test multiple settings. 
 
Holding the camera in your hands to capture images in low-light settings is not ideal; photographing the spectacular architecture and artwork of a grand ceiling certainly calls for better technique than merely craning your neck back, pointing your camera straight up at the ceiling and snapping away. Not only is this painful for your neck and spine, but you may miss out on capturing all of the intricate details above you in a blurry or dark image.  So, try setting your camera on the floor.  Yes, on the floor with the lens pointing up.  Setting the camera on the floor allows for the widest perspective of the grand ceiling, and you don’t have to worry about setting up a tripod.  I also recommend using a wide angle lens for these shots to give your image an even wider field of view with an enhanced perspective.  If you’re worried about having your camera on the floor, you can place it on top of a thin non-slip mat for additional cushion and protection. 
 
But, there’s a catch. 
​
Since you’ll be unable to use the LCD screen or viewfinder with your camera in this position, I highly recommend you tether your camera to your laptop computer with a USB or HDMI cable (depending on your camera’s capabilities).  The LiveView function will allow you to see everything in more detail on the larger screen of your laptop which will, in turn, help you find the optimal position, snap the picture, and help you make appropriate camera setting adjustments to capture the image more efficiently. 
 
Before you head out to try this technique in a high-traffic cathedral or chapel, practice it at home.  Tether your camera to your laptop computer with LiveView function and become familiar with all of the capabilities at your fingertips.  With practice, you’ll be able to beautifully capture the ornate grand ceilings waiting for you to photograph all over the world.

Happy Snapping!
​Kirsten

0 Comments


Leave a Reply.

Picture
Hi there!  I'm a portrait photographer currently based in Oahu, Hawaii.  I specialize in family, pet & professional portraits.  Thank you so much for coming to visit me here!  ​
​

    Let's Chat!

Submit


Picture
  • HOME
  • PHOTOGRAPHY
    • BOOK YOUR SESSION
    • PHOTOGRAPHY BLOG
    • REVIEWS
  • ABOUT ME
    • GIVING BACK
  • SHOP
    • BOOK SHOP
    • DIGITAL BACKDROPS
    • PHOTOGRAPH STORE
    • MOBILE MASTERPIECES >
      • DANDELION WISHES MASTERPIECE
      • FLIGHT ON THE BUMBLEBEE MASTERPIECE